Nov 04 2010

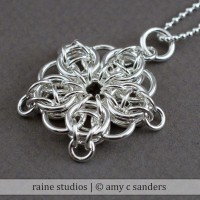
Celtic Visions / Celtic Visions Star Pendant tutorial

Published by under jewelry,tutorials

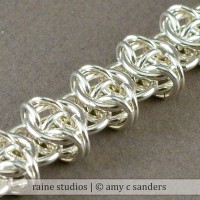
I love making chainmaille jewelry, and I love teaching it as well. Full caveat, I sell my own jump rings and kits, so I offer this free chainmaille tutorial to be able to point my customers and students to use as a reference. More tutorials will be forthcoming as my time allows.
Continue Reading »

7 responses so far

Oct 08 2010

Cleaning your Copper Jewelry

Published by under amy's head,crafty,jewelry

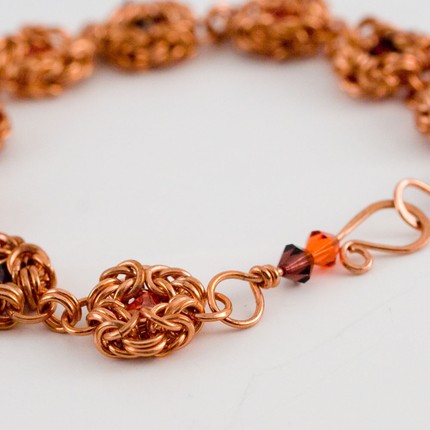
Yesterday, someone purchased this lovely copper byzantine romanov bracelet from my Etsy shop. It was one of my (rare) one of a kind pieces, and also was one of the first chainmaille pieces I made. I must say, I’m quite attached to it and a tear almost came to my eye when I sent it off into the postal system! An entirely different feeling from seeing it languish at craft shows wondering, “Why doesn’t anyone else love it as I do?” — see, I’m fickle and just can’t be pleased, Regardless, I’m sure it will be cherished by it’s lucky new owner!

This is the bracelet – I named it Autumn Splendor. It really is “micro” chainmaille, as the rings used are quite tiny – 20 gauge wire, wrapped around a 2.75mm mandrel, and then precision cut with my saw. The entire piece is really sweet and dainty, especially with the little swarovski crystals I used to compliment the copper colors.
Continue Reading »

One response so far

Sep 01 2010

My Infringing Days Are Behind Me!

Since posting about my copyright infringement saga, a number of people have come to my defense, and the entire internet drama has really reached a clamor and come to a head. I want to repost a few things here for the record.

I really don’t want to get into the background of what’s been happening before and after I published my previous post in the mailling community (and I recognize there’s lots of other places other than the maille artisans site) but there is an entire thread on weave restrictions going on here, on the Maille Artisans site, which you can read if you like. I do want to point out a few things in this situation, and in so doing, I’ll just repost a post I made to that thread:
Continue Reading »

10 responses so far

Aug 31 2010

copyright infringement – yeah, I don’t think so.

I find myself in the very interesting position of being accused of copyright infringement.

Specifically, these pieces:

shenandoah pendant

shenandoah pendant
Continue Reading »

9 responses so far

Jan 21 2010

Wednesday night – Class night #2

Published by under amy's head,jewelry,photos

#2? What happened to #1?

Well, I didn’t post for #1. But better late then never, right?

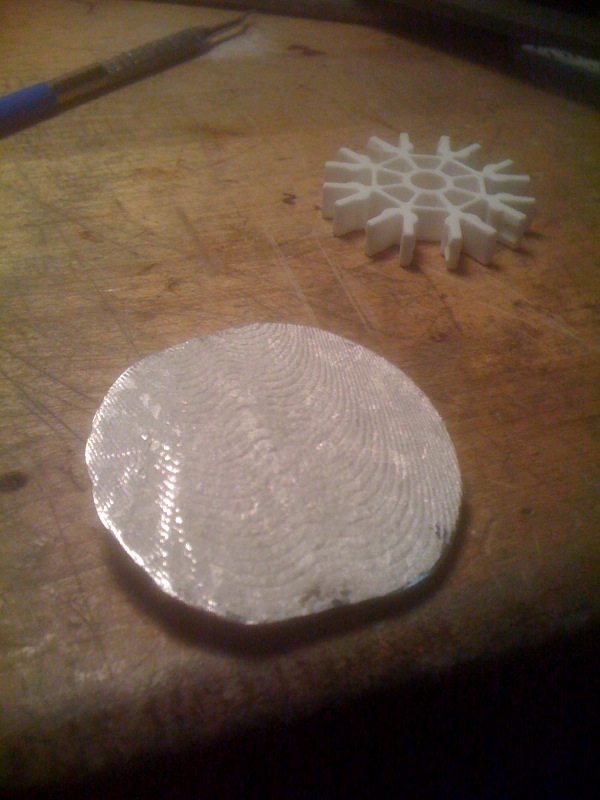
Tonight was class #2 of my silversmithing class at the Art League in Alexandria. We did cuttlefish bone castings, which I have to admit, I wasn’t actually too excited about initially, but now I am SO in love with my piece, I got very excited!

Cuttlefish bones are made up of pretty much just calcium. They are very soft, which makes it easy to carve into it, or press shapes into it. You may have actually seen one – they are good for birds, and are often wired to the side of bird cages for the bird to snack on. We decided on the shape we wanted to cast and then carved/impressed the shape into the soft cuttlefish bone, then fitted another bone over it and cut out a little funnel at the topfor the melted metal to flow into the casting.

Cuttlefish bone also has a natural striation in the material that makes really interesting patterns and textures in the casting.

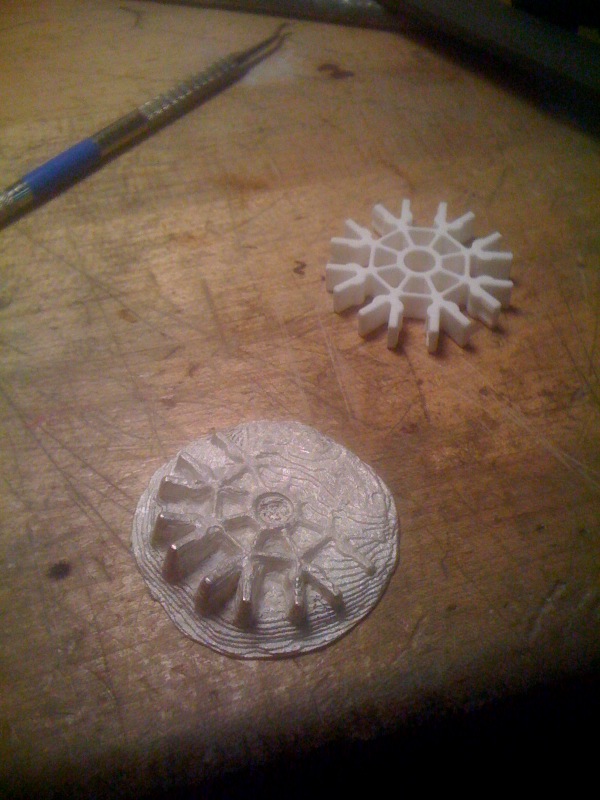
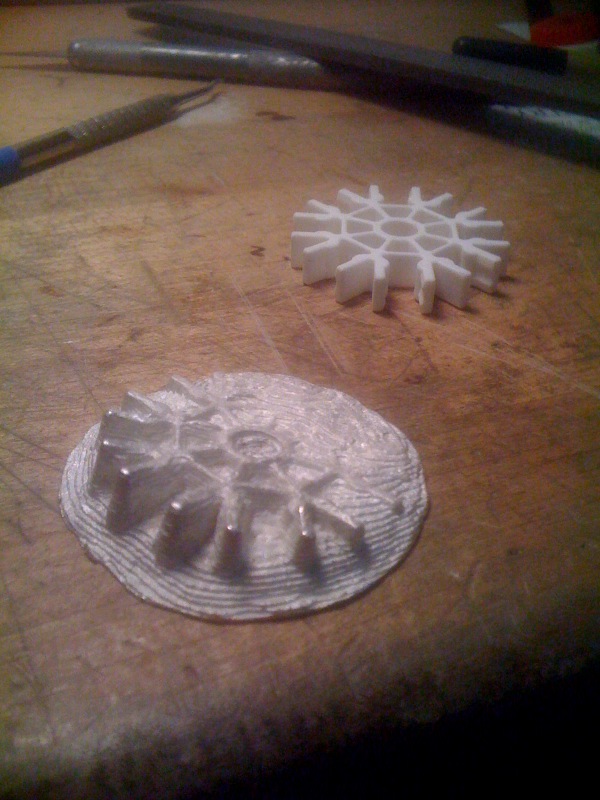
I decided to make a disc shaped pendant with the spokes of a lego gear emerging out of the disc at an angle. I figured with the wavy striations, it would look like a gear or a snowflake sticking up out of the sand.

class1

class3
You can see the striations quite a bit on the back.

It turned out very well! I wish I had thought to snap a few photos of my carving that I cast the piece from, but I didn’t. After I made my mold, I heated scrap silver in a crucible until it was molten, adding a bit of flux (boric acid I think) to help remove any slag (grossness. and yes, that’s a technical term). Then carefully, but quickly, I poured the molten silver into the void i had carefully carved out.

During the carving, the workshop smelt faintly fishy the whole time, but after pouring hot molten meltal into the bone, there was nothing faint about it. It smelled very badly of nasty burnt fish, blech!

A few students had some bad luck with their molds. Not enough material between the mold and the edge of the bone, and the molten metal would find a way to escape the mold and all was ruined. Once used, the bones could not be used again, as they were burnt to a stinky crisp. I was very happy that my casting turned out wonderfully, much better than I expected.

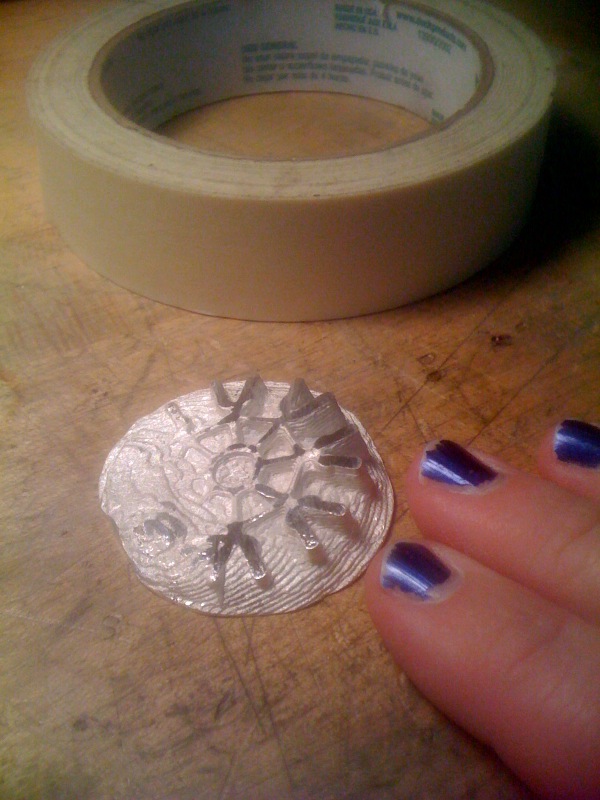
After retrieving my cooled metal from the quench pot and chucking the stinky remains of the burnt mold, I consulted Nick, our teacher on ways to finish this sucker off. On Nick’s suggestions, I filed the angled gear shape down smooth. This week I will need to decide whether to keep the edges as they are, or perhaps cut away around the edge of the protruding gear and into each little coggy protruberance. I’m not sure which I’ll do.

class2

class4
This photo is it’s current state, after a bit of filing.

Good thing I have a week to think it over!

-Amy

Comments Off on Wednesday night – Class night #2

Oct 14 2009

my day off.

Published by under amy's head,crafty,kids,photos

Ahh, hello blog!

It’s been busy around Casa de Panders. Monday was Columbus day, and I had it off… but no one else did. It was quite nice to lounge around the house doing nothing all day! I debated on what I would do, but with my car at the shop (it needed a new radiator, sniff) I was stuck at home and ended up cutting rings and chain mailling all day.

Here’s what I made:

Celtic Visions in copper

celtic visions in copper

Jens Pind in 14 gauge (ie: HUGE) sterling silver

jens pind in 16 gauge sterling silver

And here’s another Jens Pind, in 18 gauge sterling that I made last week. It’s listed in the shop now.

jens pind necklace

So, it was a pleasant enough day – unfortunately, I think I overdid it and the joints in my right forefinger and thumb are kind of aching – this is really kind of pissing me off, as I just bought new pliers that I really quite liked. I hope it wasn’t the pliers that did it.

Oh, and here’s one more picture: Any guesses as to who Jocelyn is going to be for Halloween? Someone from one of my FAVORITEST movies!

jocelyn in halloween costume

-amy

Comments Off on my day off.

Aug 17 2009

Learning via osmosis

Published by under amy's head,crafty,jewelry

It’s funny how one learns things. Sometimes, all it takes to pick up a lot of things is just immersion into the subject. But if one can’t immerse oneself, it’s hard.

I’m just thinking over how my course of jewelry making has taken in the last year. I decided about this time last year, that I was going to make jewelry for the females in my family for Christmas. I hadn’t done any jewelry making since high school, when I would do some stringing on fishing line, and then take a lighter and melt the knot so it wouldn’t SPROING apart. In case you don’t know, this is a pretty juvenile approach to bead stringing, however, it served pretty well, and I had several necklaces for many years before they broke.

So when I first started, I bought a bead stringing book, and some beads during a trip to Michaels. The book was a great start with the introduction of some basic stringing tools – the proper kind of material to string it with, crimping pliers, crimp beads, clasps, design elements. I knew that I couldn’t keep going to Michaels – I was still uneducated, but I knew it was over priced, and cheap. The first site I stumbled on was jewelrysupply.com and while it is a decent site, it’s not one of the better jewelry supply sites that I now know are out there.

So I strung a little and read my book and looked through the site looking through the various tools they had wondering what in the world one would do what THAT. I started scouring etsy for inspiration and also, some direction. Stringing wasn’t really for me, honestly. It was too easy and too hard, all at the same time. Too easy in that all you have to do is slip a bead onto a strand over and over until you have your piece. It’s too hard in that you have to decide WHAT to string and WHERE and in what order and how long and multistrand? and does this stone look good with that one and… It’s harder than it looks.

But I did make jewelry for all the females on my list, and I think back on them and still think they looked pretty good. In the meantime, I had taken a wire working class and learned how to wrap a bead, make some figure 8 connectors, twist wire in new and fun ways. The class was actually kind of an accident, in that if I knew what it was about, I think I would have passed, but in fact, it was exactly what I needed. I took in the language, the terminology of the wire work and yearned for more. I discarded what I didn’t like about the class and honed the skills it taught me.

I found a few of the jewelry supply monoliths out there and again pored over their catalogs and built wishlists. I went to local beadstores and bought way too many beads. (And never too many!) I joined a yahoo group for wire wrapping and continued to track and absorb. I looked through galleries, I knew what I liked, I knew what I didn’t like.

Somewhere in there, I found a few chainmaille sites. This is where I think I may have gone a little haywire. I think chainmaille is fantastic for many reasons – in the right material and sizes, it almost never fails to impress. It’s so intricate and meticulous and yet one can do it while they sit on the couch watching TV. (What’s not to love?) One can adorn it with beading or leave it plain and it still looks jaw-droppingly gorgeous.

I was a smitten kitten. I bought my first (last? I know james hopes so!) jump ring cutter and my love affair with sterling silver was fully underway.

I scoured forums, chainmaille weave tutorials, added super sale dates to my calendar so I could be sure to buy my expensive sterling silver wire at the best price, cursed my jumpringer, smooched my jumpringer, wove and wove some more. I branched back out from time to time, to make some wire wrapped beaded items that I was proud to see had a unique design to it, something I could proudly point to and say, “I designed that.”

Another class, this one on soldering, light up a big compact flourescent bulb over my head. I was on the search again, this time, poring over torches, solder, flux, pickle, and let’s not forget disc cutters, doming blocks, rolling mills, flexshafts. More groups to join, more forms to explore, more words, this time on smithing, to hang on to every one.

There is a great jewelry artist community out there that has given a lot to me (whether they knew it or not) just from my careful observation. Just from my reading every word I could find on the subject. Almost just through my proximity, my hovering around to hear every morsel, every drop. almost, one could say, through osmosis.

Still, I guess there comes a time where even learning through osmosis needs actual instruction. And so I’m very excited and absolutely giddy that I am taking a class in the fall term of the Art League, on silversmithing. Nine glorious weeks of bench time with someone to watch and hang on every word. Though this time, not in virtual space, but in real space.

I start mid September. Very excited.

-amy

One response so far

Jun 28 2009

Tales from the Bench

Published by under amy's head

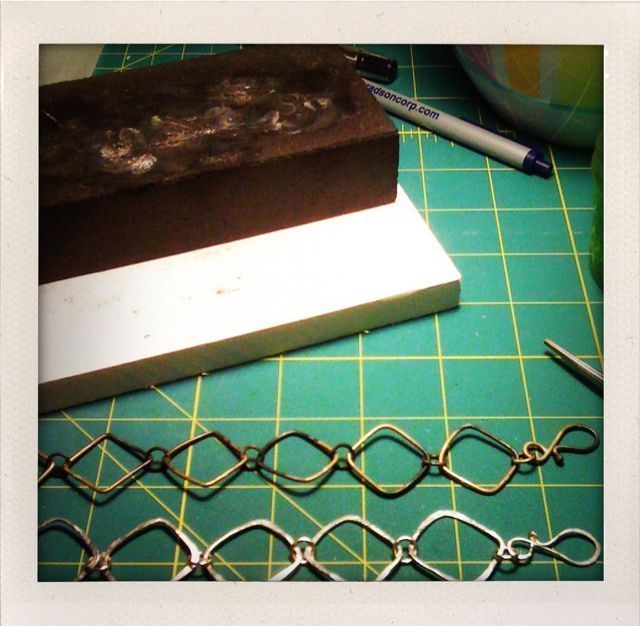
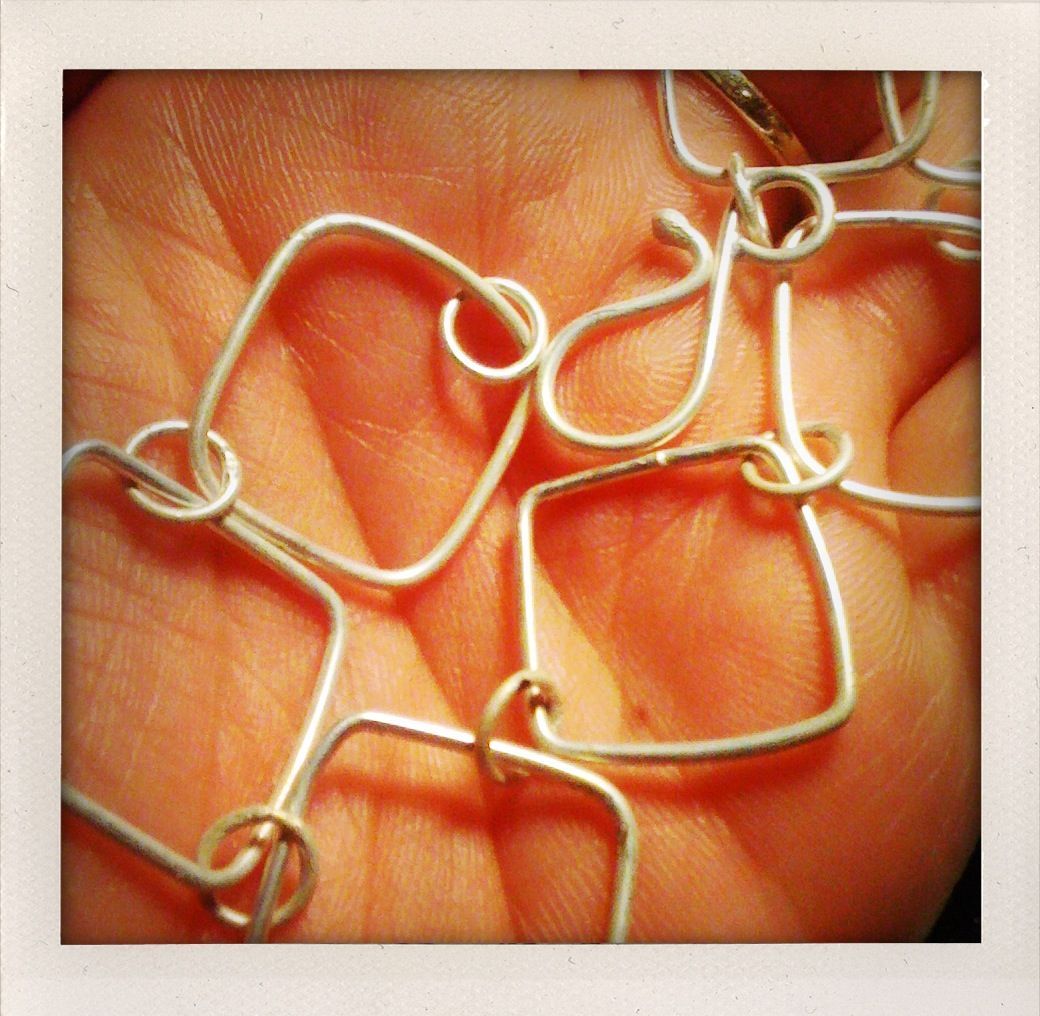
Last night after we got home from a lovely birthday BBQ at our friend Liz’ house, which is always so fun, I decided to finally make another square linked bracelet, like the one I’d made in my soldering class. Here it is:

I’d been watching out for anything long and square that I could use as a mandrel (mandrel = something on which to shape / wrap wire or sheet metal) and finally decided to just wing it with my pliers.

I also realized I still had some links from my class that I hadn’t used, and a ton of already soldered jump rings, so the whole thing came together really fast.

Here is the new bracelet next to the old one (sans chainmaille).

After I snapped this, I put it in the pickle pot. The “pickle” is a highly acidic solution that removes oxidation (coloration) from precious metal. It’s usually heated to work faster My pickle pot is a little 1.5 qt crockpot.

Here it is after it came out of the pickle. It’s funny how it comes out completely white and matte, very unlike how you think of silver.

Then it was way way past bedtime. Next I need to finish it, which means sanding it down with finer & finer grit sand paper, a little polishing, and finally, a tumble with some stainless steel shot in my tumbler.

After that, I am not sure whether or not to put the same bits of chainmaille links in each square as the original, or some other element. We’ll see.

-amy

Comments Off on Tales from the Bench

Jun 19 2009

(belated) report from my silver soldering class

Published by under amy's head,crafty,daily,jewelry,photos

I never did follow up and post how my soldering class went. It went awesome!

Here is a photo I took with my phone halfway through the class. The bracelet is only half done, I just draped it over my wrist.

halfway soldered square link bracelet

Here are is a picture I took after I got home. I plopped everything I came home with (finished and unfinished alike) into my light box and took some shots with the Canon 30D.

products from soldering class

You can see 2 square links that have not been soldered, one that was soldered, but I didn’t need, a few little bitty clasps I made, and some balled headpins — which I strung a pretty lucite bead on to show how I plan on using them. And then of course, the bracelet I finished in class.

As you can see, when you put the torch to silver, it oxidizes the metal. The oxidation is the black and goldish colors you see in the torched pieces. In order to remove the oxidation, when you’re finished, you place it in the “pickle” a solution that removes a very fine layer of metal, including the oxidation. The finished bracelet went into the pickle at the end of class, thus it’s nice and shiny. It had not yet been tumbled, so the silver is still a kind of matte finish rather than a shiny finish. I have a tumbler at home, so I didn’t worry about tumbling it in class.

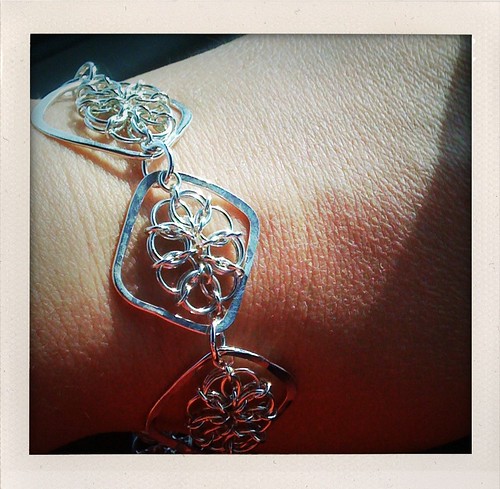
And here is my finished bracelet.

MOD sterling silver bracelet. soldered square links with chainmaille inserts

When I got home, I added (unsoldered) chainmaille pieces inside each of the square (soldered) links. I absolutely adore it – The organic asymmetrical-ness of the squares makes it looks kind of retro to me. Very mod. I am going to make another one with a little less hammering of the squares…. once I can find a square mandrel to use!! I’ve just been keeping my eyes peeled for anything but I may have to ramp up efforts, head to a hardware store and actually actively look for something.

My pyromaniac sale is over, and I sold 2 items, which in my book, is a SUCCESS! I received my torch and soldering supplies, and let me tell you – it is FUN! I’m hoping to finish some earrings this weekend to list.

Also, I may be teaching a chainmaille class August 1st! I am kind of excited! If you are in the northern VA area and are interested, let me know and I’ll keep you up to date! It will be a byzantine class, and participants will be able to finish this bracelet in class:

sterling silver byzantine chain maille bracelet

-amy

Comments Off on (belated) report from my silver soldering class

May 09 2009

The precocious 7 year old, Mother’s Day, and a Work-In-Progress

Published by under amy's head,daily,kids,photos

Me: Can i see your new birthday spy tool?
Ethan: Sure.
Me: Oh cool, a compass.
Ethan: I know.
Me: Whats this? Oh, a whistle!
Ethan: Yeah i know.
Me: and tweezers.
Ethan: yeah.
Me: …that come off!
Ethan: I have ALREADY established that.

Let me just repeat that last one.

“Already established that.”

!!!

James and I just looked at each other and repeated it about a zillion times the rest of the day.

Seven going on thirteen!

(Here is the afore-mentioned spy tool:)

So birthday-ness was celebrated. This year we did not do any fancy parties. I took cupcakes in to Ethan’s class at school, and he got to choose where to go out to dinner. He choose Chuck E. Cheese, where as soon as he found a fake ID machine, all tokens were unceremoniously fed into said machine. And then, he got Jocelyn and she did the same thing.

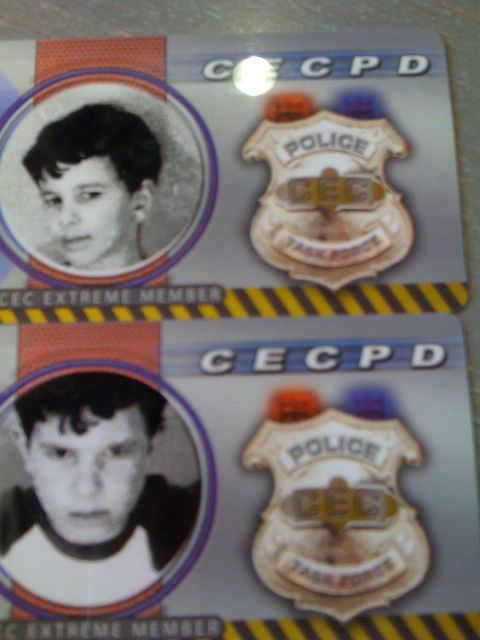
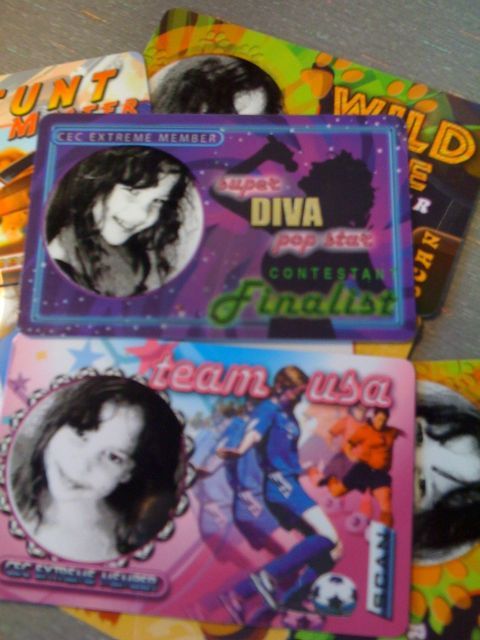
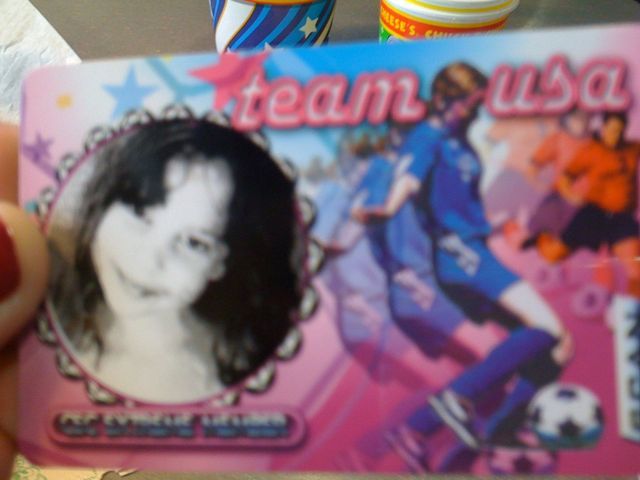
Basically, child poses in front of camera, machine takes child’s picture, machine prints picture on 1 of 4 different ID badges. Boy badges were skateboarder, firefighter, policeman, and some other one. Girl badges were rockstar diva, princess, and 2 other ones. (Oh boy what a good memory Mommy has!)

I am not kidding — Ethan posed for about 20 cards. And every single picture of him on the cards is almost the same, except perhaps that he tried his darnedest to look MORE and MORE menacing in each one.

Jocelyn, on the other hand, tried to look more and more cute and adorable in every shot:

Um, yeah, LET’S LOOK AT THAT ONE AGAIN:

I fear the teenage years ahead of us.

Along with the spy multitool, he also received a spy safe (complete with access code and voice saying “ACCESS DENIED” if you get it wrong), a spy scope (can look around corners), a skateboard, legos, and SPORE for the DS. Can you tell that we have a little secret agent spy man on our hands? In his free time? He likes to construct… not a FORT, like we did in MY DAY.. but a secret hideout.

It was a nice birthday.

Mother’s day was very nice too! Jocelyn brought me the toast that Daddy made. Ethan poured the OJ and brought it up himself, and then cleaned my room and made his bed. Ethan’s card had handmade paper flowers, and after seeing them, Jocelyn promptly went and made some of her own. Too sweet! I took Jocelyn to her ballet class, and then we went to Sweetwater Tavern for a Mother’s Day lunch. Very nice. I told James to please, PLEASE not buy me anything, because I have ordered enough in the sterling silver wire and lucite bead department to last several Mother’s days! I got my lucite beads in time for Mother’s Day, and so worked up a few pairs of earrings.

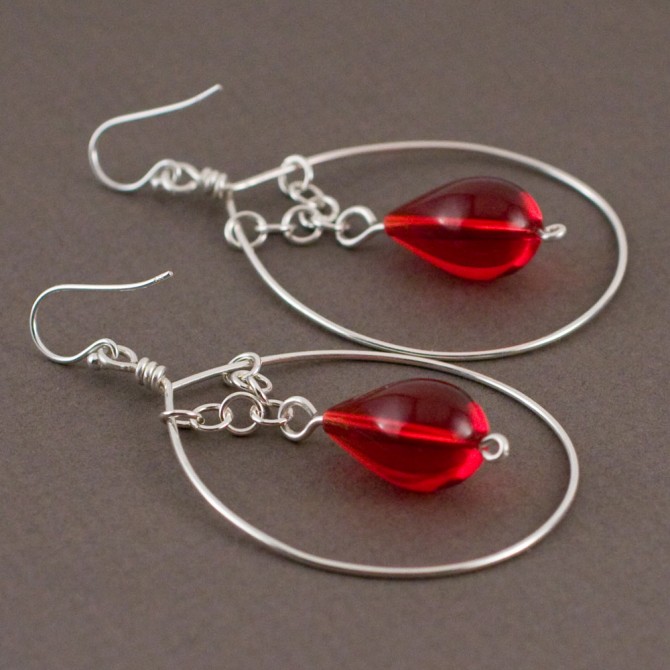
Here’s one pair:

Crimson in Loops. Earrings.

I looooove them — but I’ve actually had a second vision and will be making some adjustments… will work on them this week!

-amy twiddles her fingers waiting for the sterling silver WIRE to arrive!

Comments Off on The precocious 7 year old, Mother’s Day, and a Work-In-Progress

Next »