May 14 2012
the loveliest mother’s day
My wonderful husband James took the kids out hiking and then to dinner, leaving me with about 4 blessed hours of ALONE IN MY HOUSE time — which, technically I get every day when they’re at school/work, BUT STILL, I USUALLY HAVE SH*T TO DO THEN!
I still had stuff to do, but I decided I would not squander this lovely ALONE TIME gift and do actual work, like house cleaning and laundry — oh no, I would spend this time making JEWELRY!!
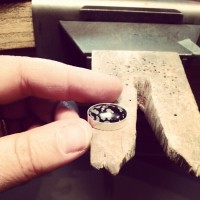
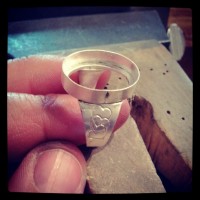
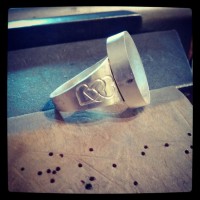
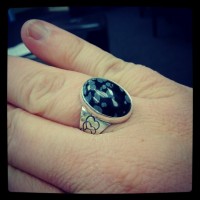
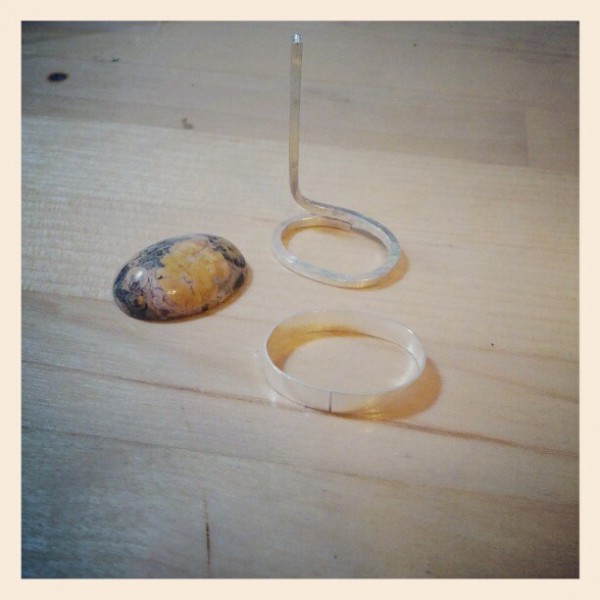
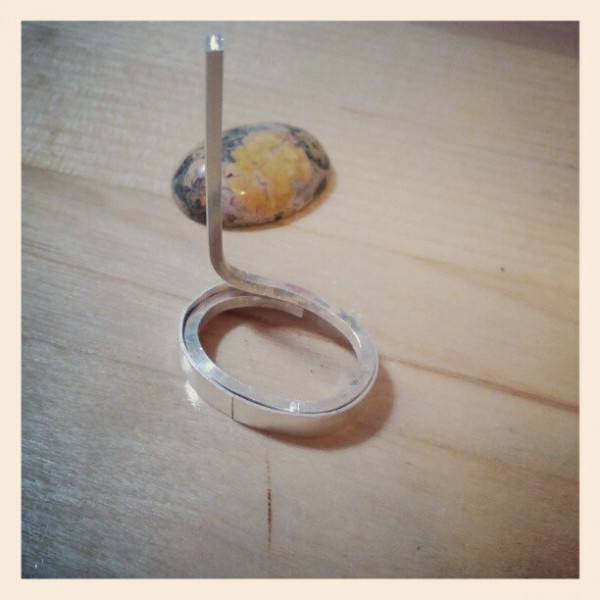
We have been making an open backed ring with a tapered shank in my silver class, and I finished mine last Monday.
Here are some photos I took while it was in progress:
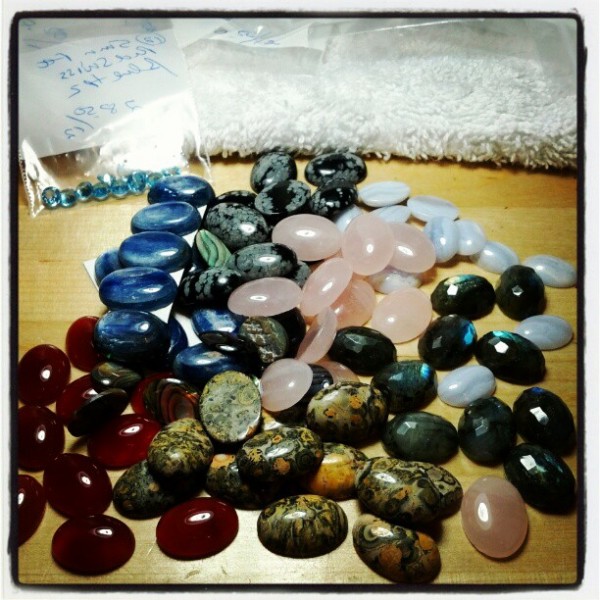
I eagerly ordered some cabochons to make MORE of these beautiful rings to list in my shop. They arrived on Saturday!
Aren’t they gorgeous?? Carnelian, kyanite, paulo shell, labradorite (my faaaaavorite!), blue lace agate, leopard skin jasper, pink quartz, and more snowflake obsidian. You can also see the swiss blue topaz round faceted gemstones I got in the little baggie in the corner.
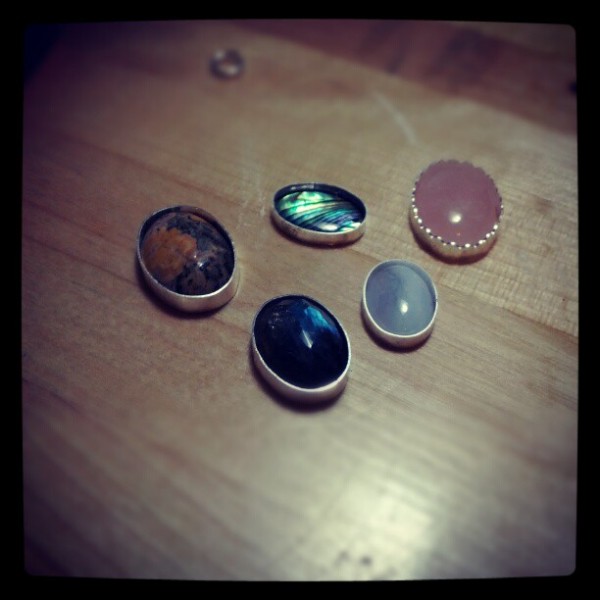
Faced with the prospect of EMPTY HOUSE! I selected a few of my new cabochons and quickly got to work! I cut bezel wire to fit around each stone, filed, and soldered them closed.
Clockwise, starting at 12 – paulo shell, pink quartz, blue lace agate, rosecut (faceted) labradorite, and leopardskin jasper.
Next I take 16 gauge square sterling wire, and carefully shape it to fit snugly inside the bezel.
Usually the bezel is soldered down to a piece of sheet which the stone sits on, but this will allow the back of the stone to be visible from the back of the ring, while still providing a seat for the stone to sit on.
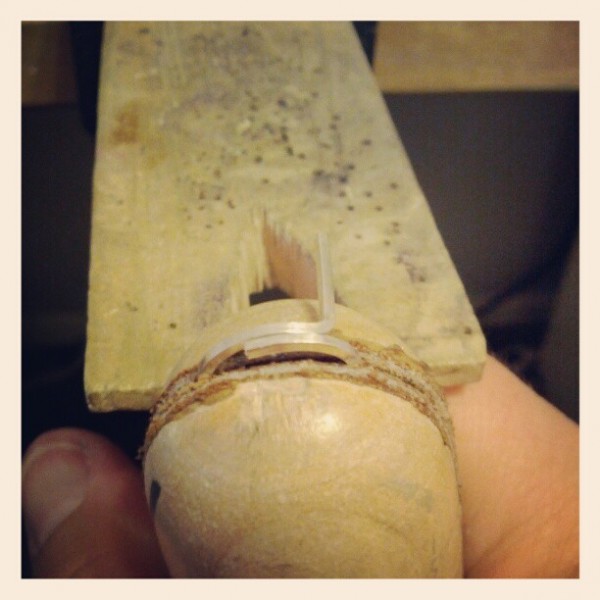
Next, I need to get the square base ready to solder closed. I clamp it securely in a ring clamp, and cut through both pieces of wire where it overlaps with my jeweler’s saw. This provides a clean flush cut to make soldering easy.
After I soldered the square base ring closed (no pictures of that, sorry) I took the square ring base, and fitted it inside the bezel, always checking to make sure the stone still fit nicely inside, tweaking the shape with my pliers, and sometimes hammering the base to make it every so slightly larger if needed.
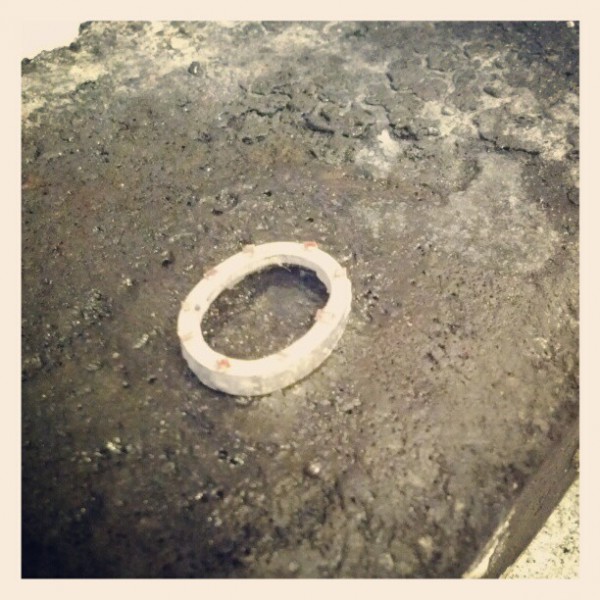
When the base fits snugly inside the bezel, I flux it up, place little pallions of hard solder so that each piece touches both the bezel wall and the square wire base — and then just add heat to solder the base to the bezel.
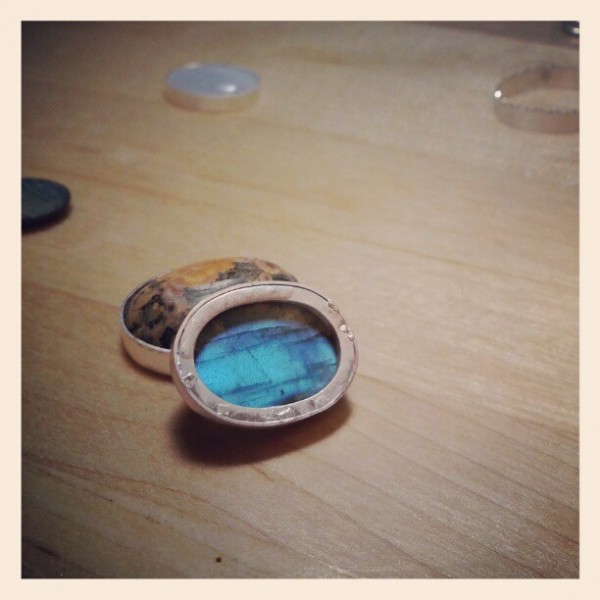
In my lovely EMPTY HOUSE time — I managed to make a bezel and base for each of my stones, and got most of them soldered together. Here’s a view from what it looks like from the botton, with the labradorite stone sitting inside the bezel.
I merrily worked away all afternoon, pausing to wonder briefly how James and the kids were doing before pushing it firmly out of my mind and going back to work.
Next up for these will be creating the shanks to each ring!
My son DEMANDED that I have a good mother’s day — I submitted to his demands!
